Build a Retaining Wall:
Function, Style & DIY Know-How
It’s almost the end of summer. You’re sitting outside, admiring your yard—but something feels incomplete. Maybe that sloped patch of land has turned into more of an eyesore than an accent. If that sounds familiar, it might be time to add both beauty and function with a retaining wall.
Why Retaining Walls?
Retaining walls aren’t just about looks—they do some serious work for your property.
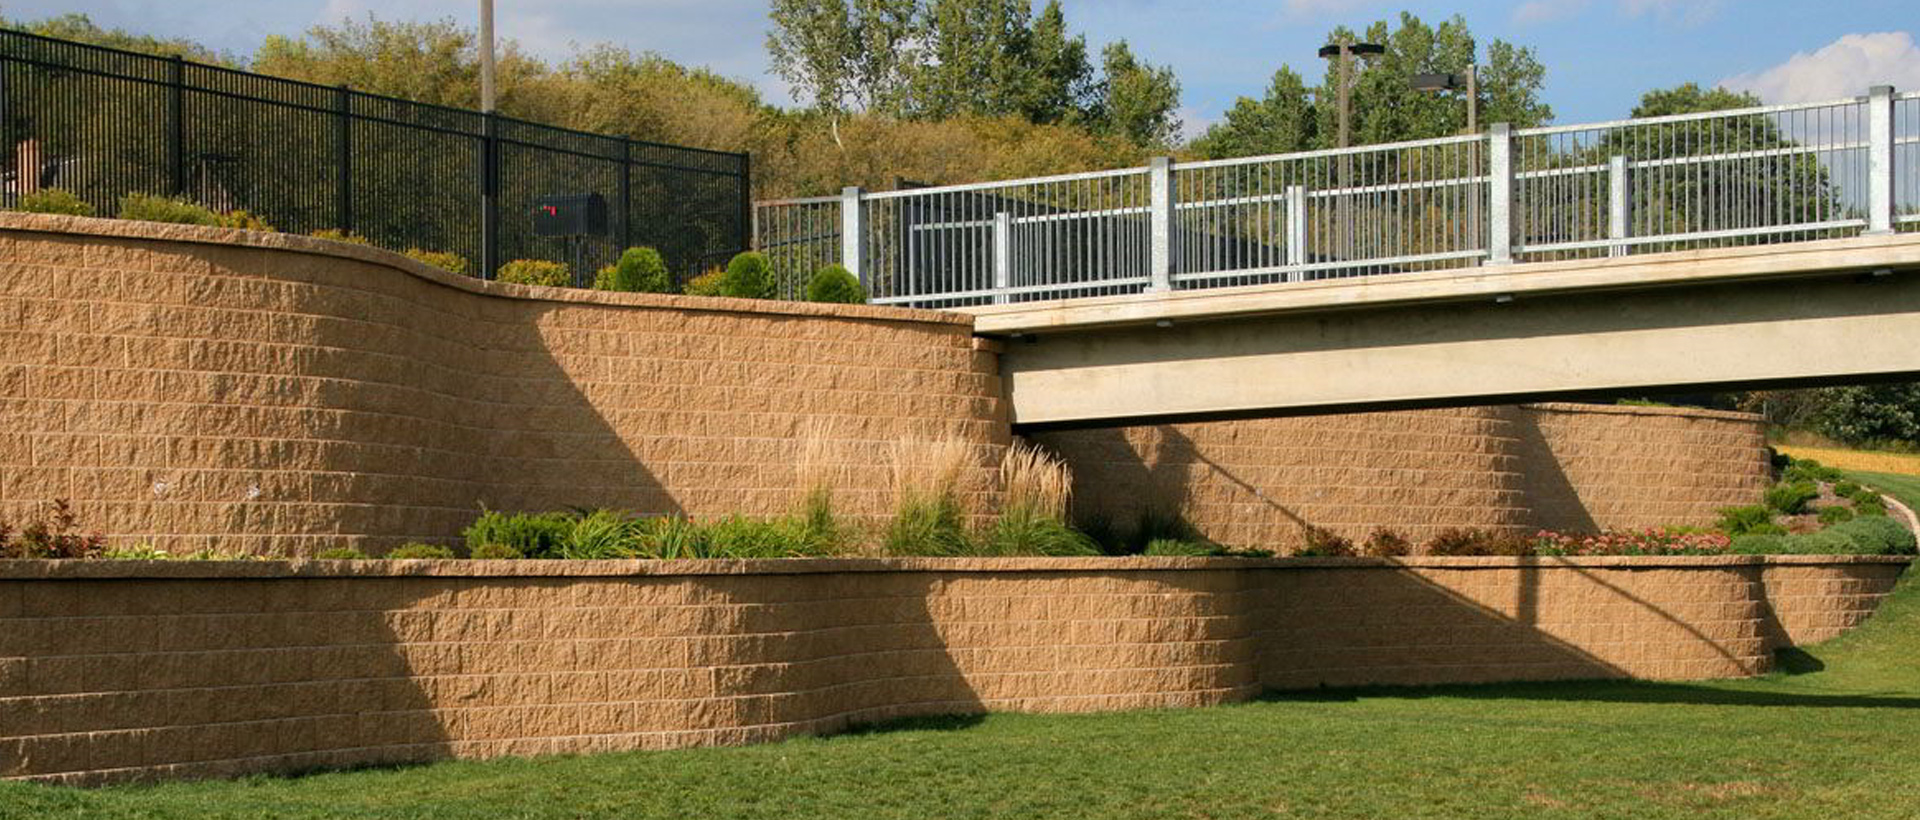
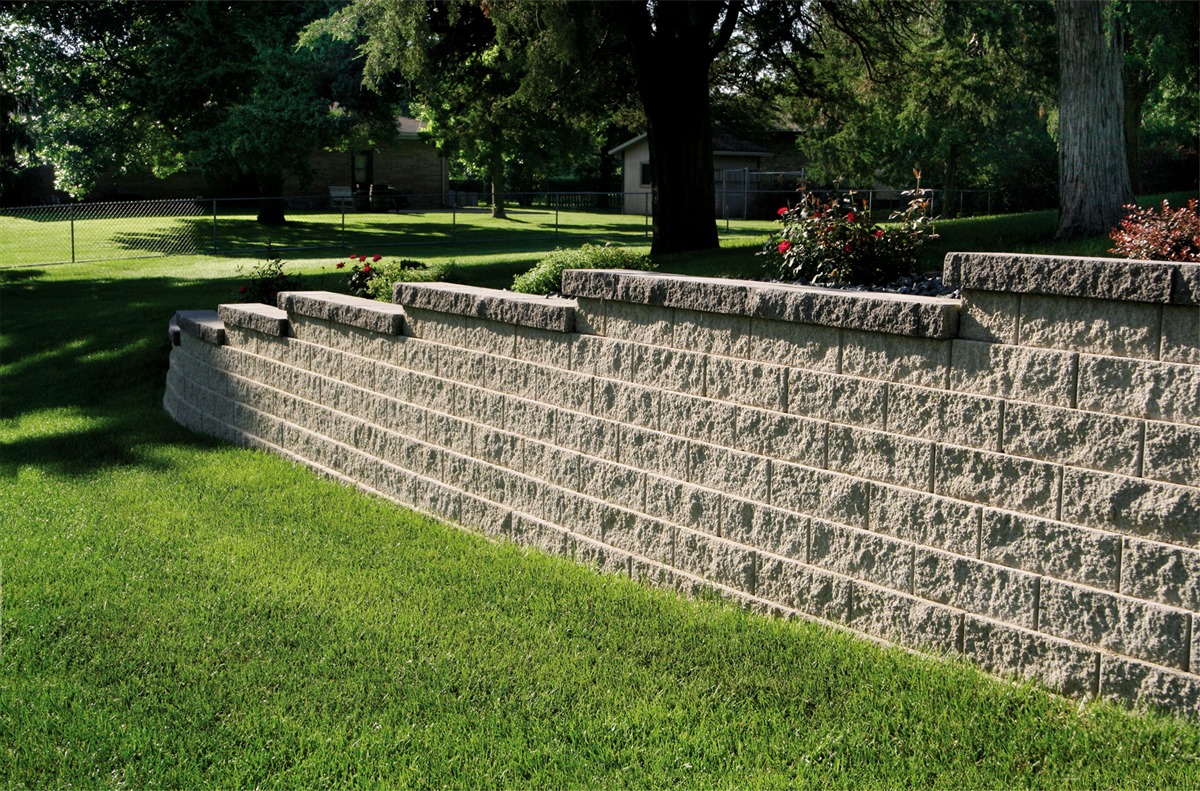
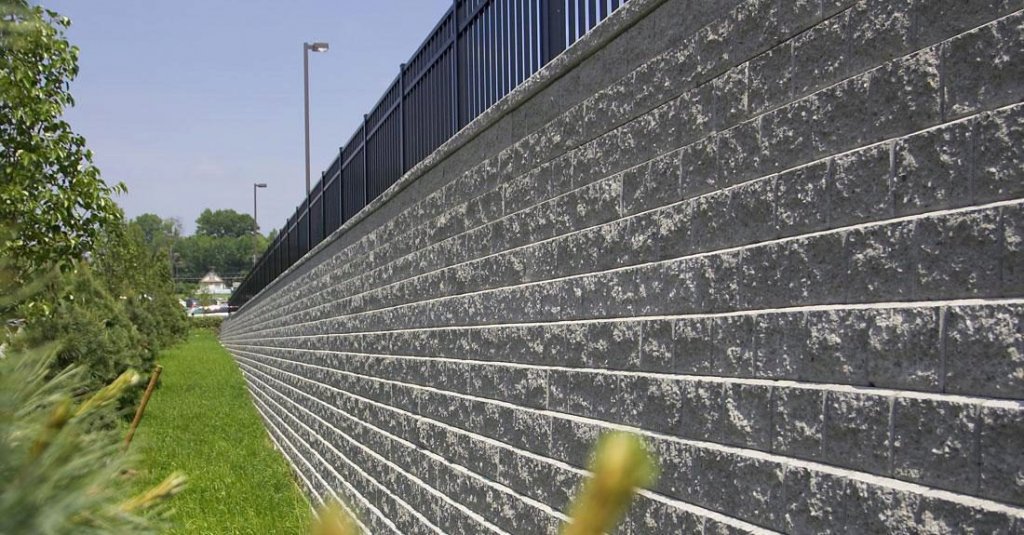
- Stop soil erosion: By holding soil in place, these walls prevent your yard from washing away during heavy rains.
- Control water runoff: Instead of rain rushing down a slope and carving up your lawn, water is slowed and redirected.
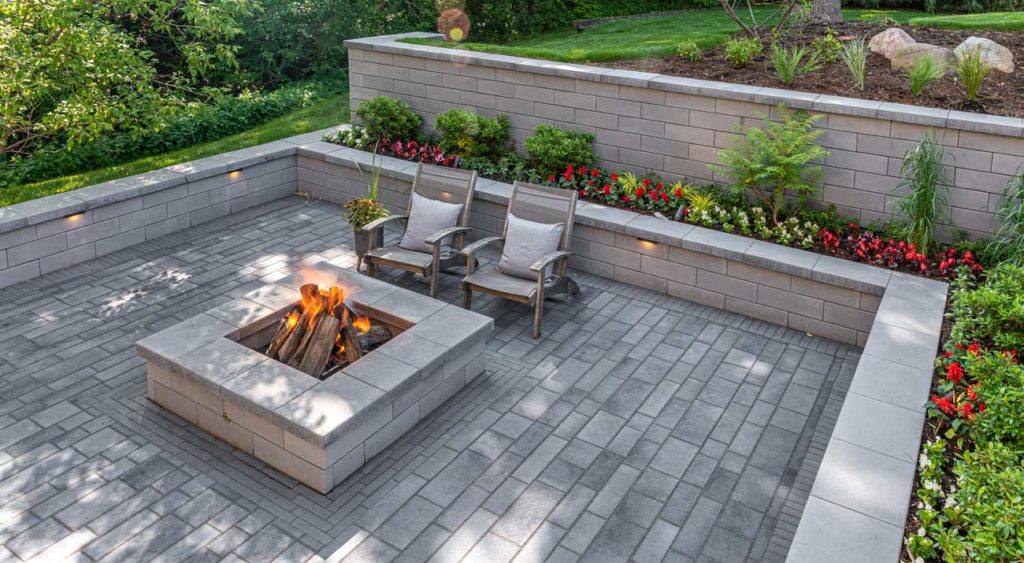
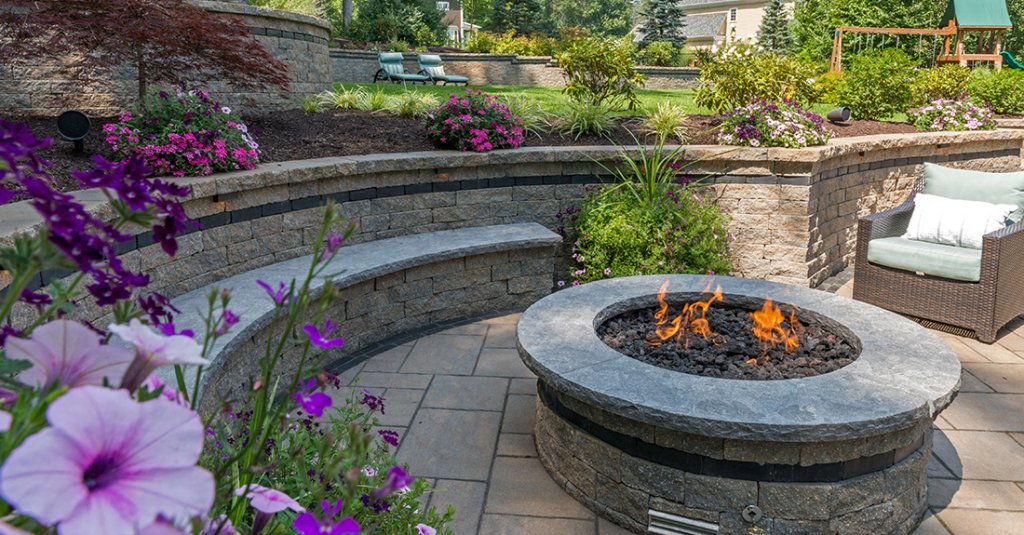
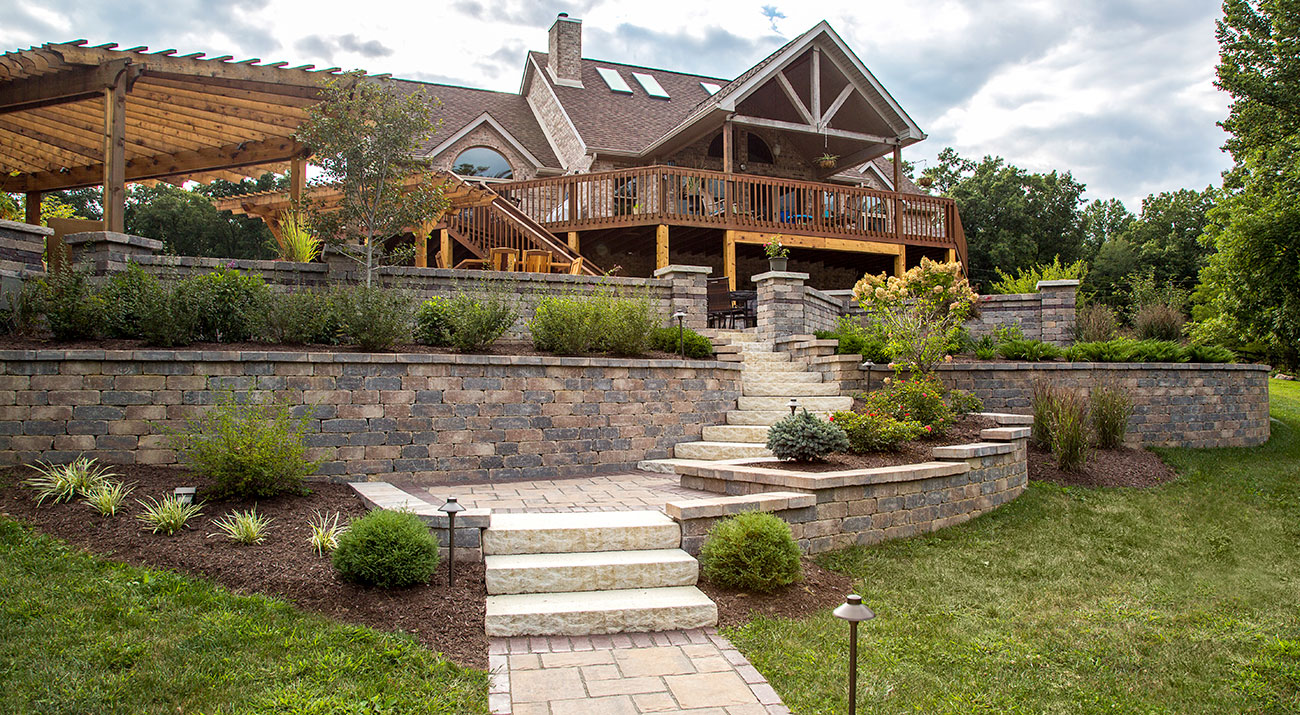
- Add usable space: A wall can turn sloped, wasted ground into flat, functional land perfect for a patio, garden beds, or a play area.
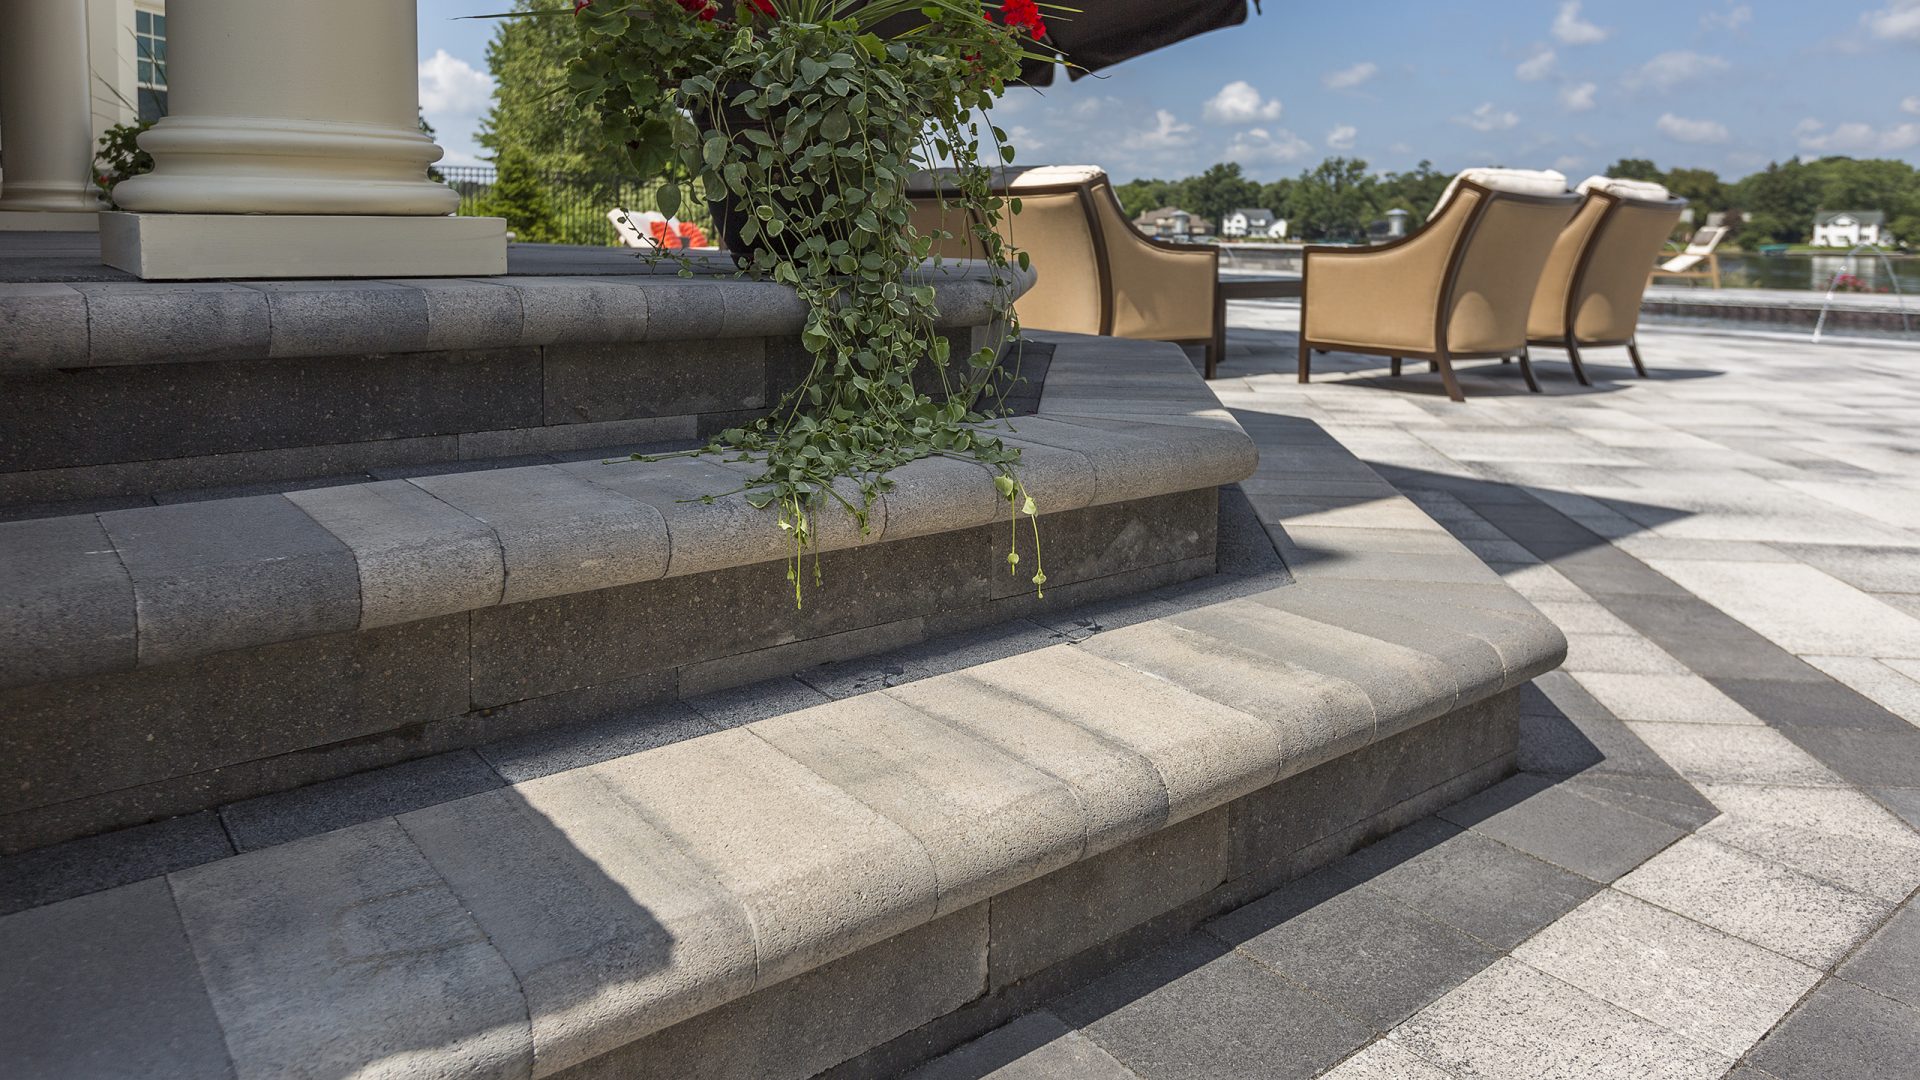
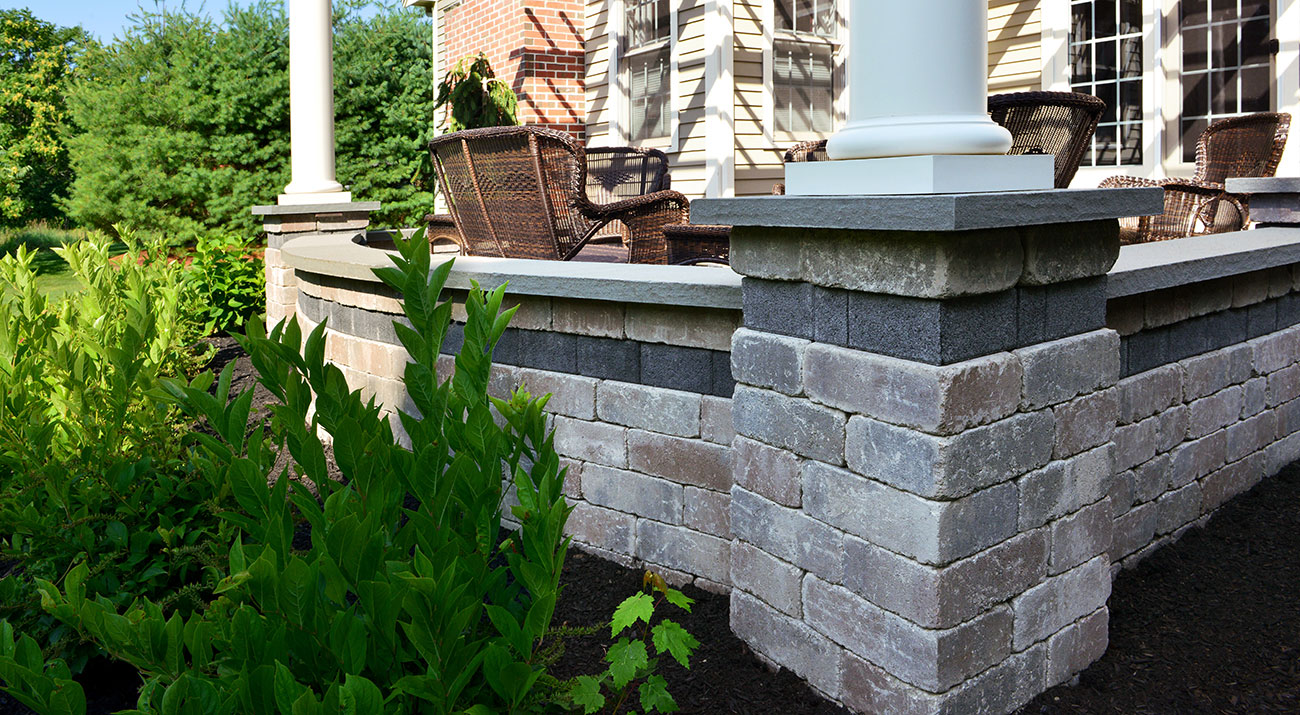
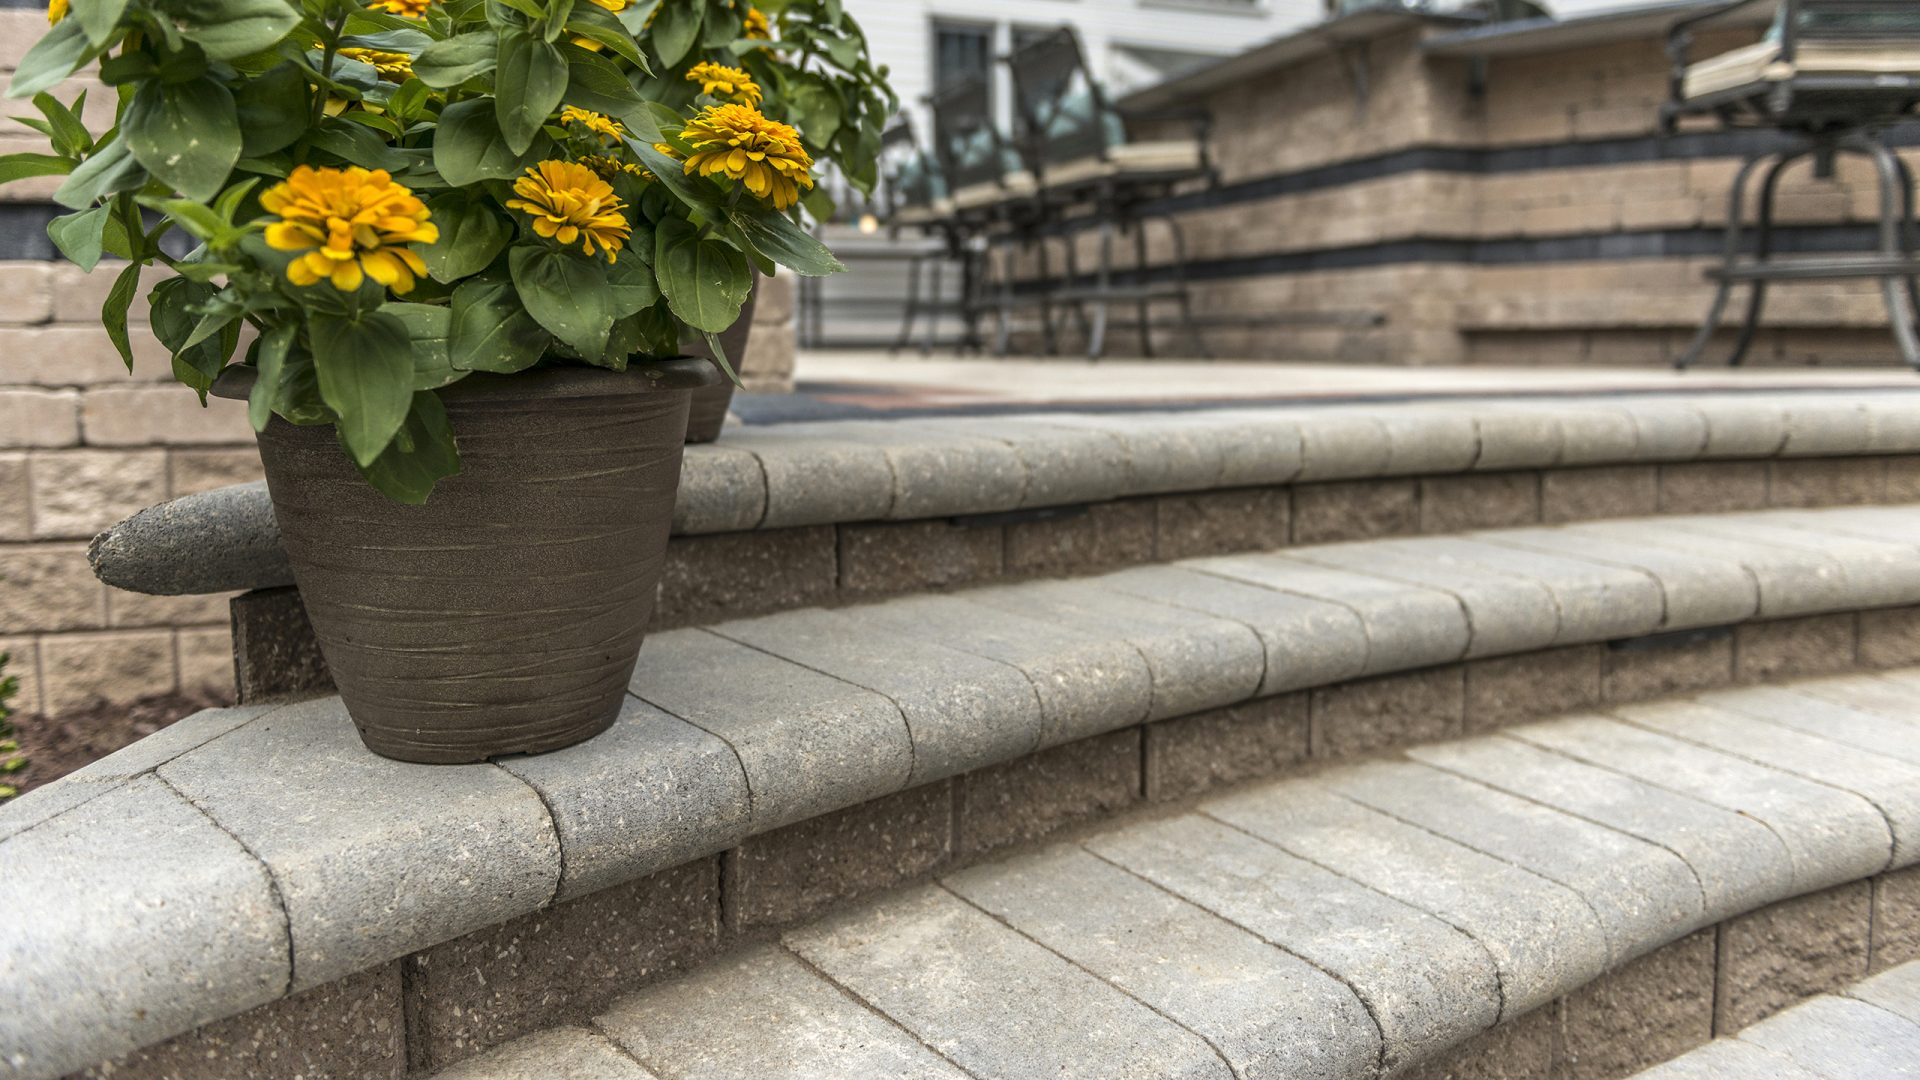
And the bonus? Retaining walls can also double as decorative features that transform your landscape. Think creeping plants tucked into cracks, hanging greenery spilling over the sides, or even a rock garden built right into the wall. The design possibilities are endless.
DIY Retaining Wall Guide
If you’re ready to roll up your sleeves, building a retaining wall is a project you can take on yourself. Here’s a simplified guide to get you started:
Step 1:
Things to Consider First
• Call JULIE before digging to locate underground utilities.
• Check if you’ll need a building permit (requirements vary by height and location).
• Estimate materials carefully: calculate block count from your wall dimensions and add 10% extra for cuts and replacements.
Step 2:
Plan the Location
• Measure the length and width, then mark with stakes and mason’s line.
• Use a line level to make sure it’s even.
• For curves, trace the shape with spray paint.
Step 3:
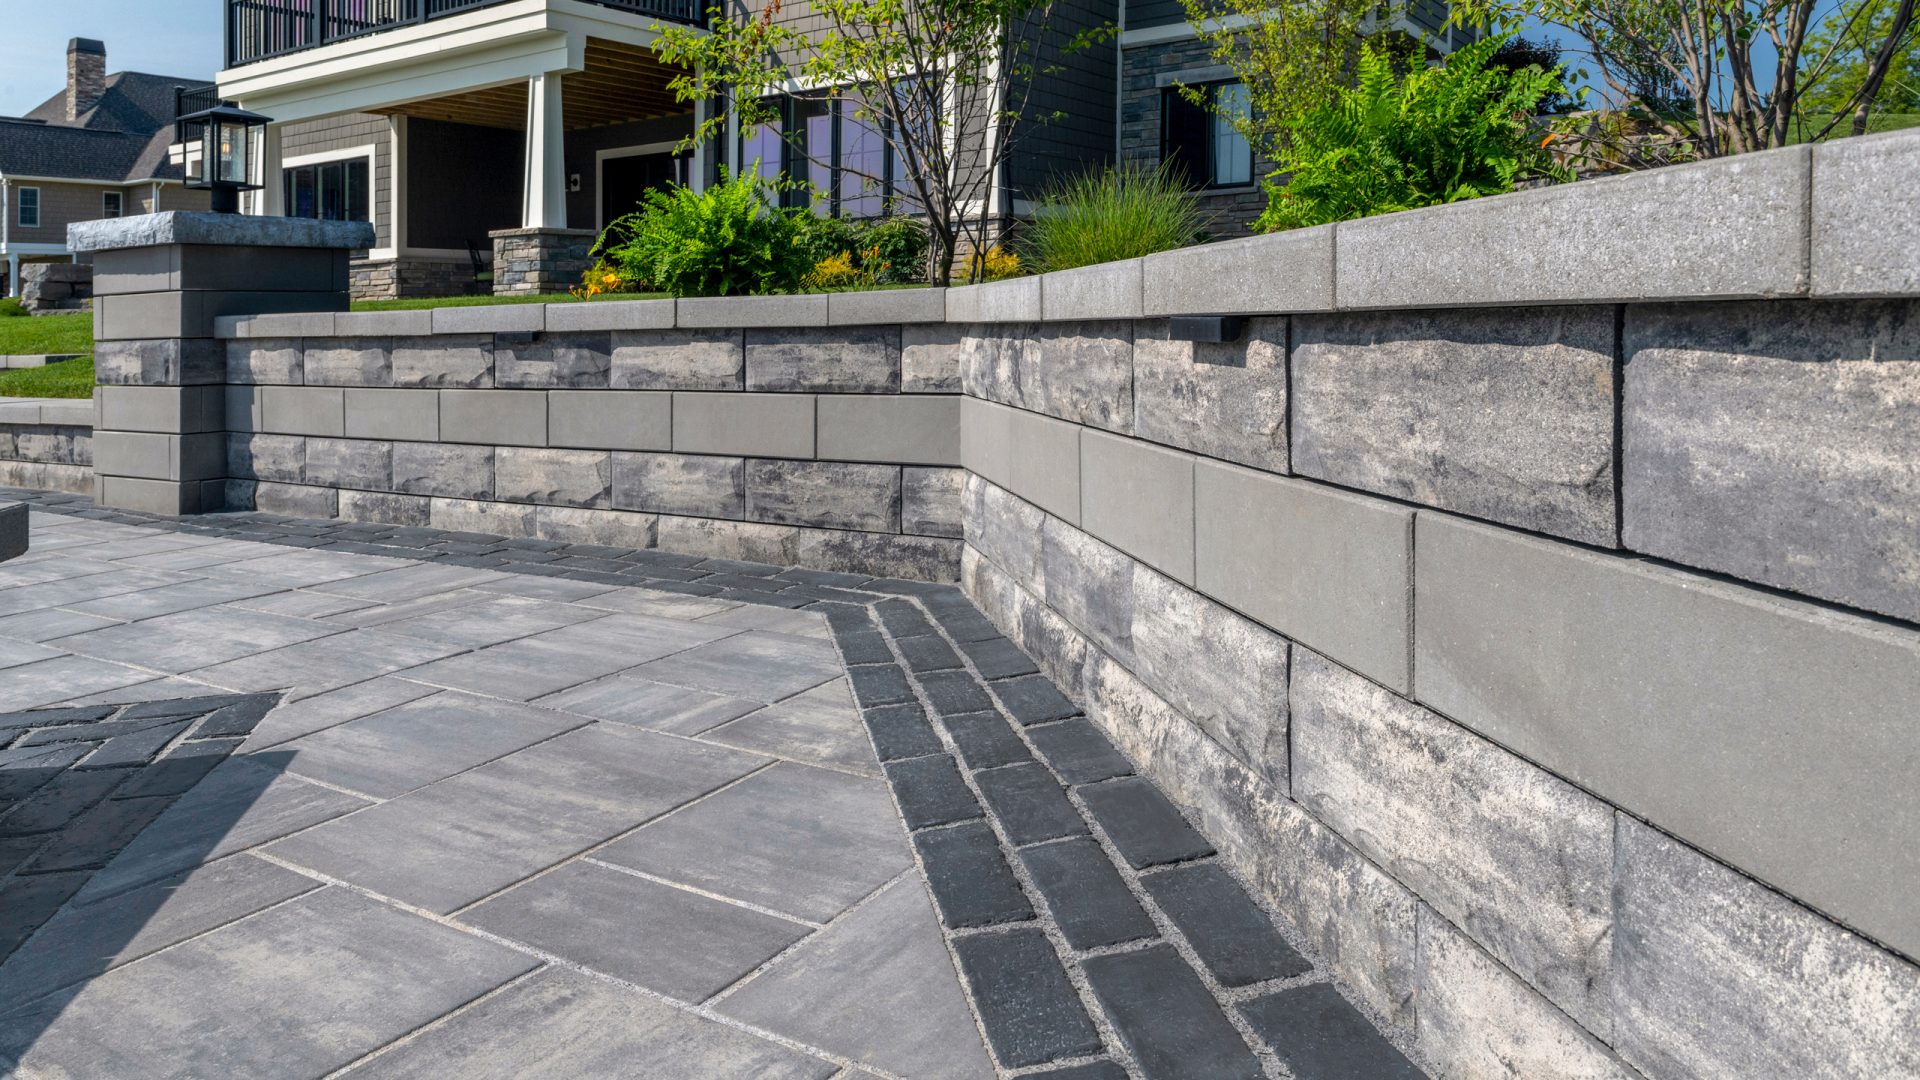
Pick Your Supplies at IL Supply
• Retaining wall blocks and stones in a variety of sizes and styles
• Paver base and gravel for a solid foundation
• Landscape fabric and drainage pipe to keep your wall sturdy and dry
• Construction adhesive for securing capstones
• Topsoil and mulch to finish off the look with fresh landscaping
Before you start digging, stock up on the right products. At IL Supply, we carry everything you need to build a strong, long-lasting retaining wall:

Step 4:
Dig a Trench & Level the Base
• Dig a trench deep enough for half of the first block plus ~3 inches of base material (usually 4–8 inches).
• Compact the soil and paver base with a tamper.
• Keep the base level side-to-side and front-to-back.
• On slopes, “step” the trench to maintain level courses.
Step 5:
Lay the First Course of Blocks
• Begin at the trench’s lowest point.
• Set blocks on the base, adjusting with a mallet and checking for level.
• Fill behind the first course with gravel and tamp for stability.
Step 6:
Add Courses & Create the Pattern
• Sweep each layer clean before stacking.
• Stagger joints by cutting half-blocks where needed.
• Apply adhesive between layers if using cap blocks.
Before you start digging, stock up on the right products. At IL Supply, we carry everything you need to build a strong, long-lasting retaining wall:
Step 7:
Drainage (If Needed)
• For tall walls or wetter areas, place a perforated drain pipe behind the wall after the first couple of courses.
Step 8:
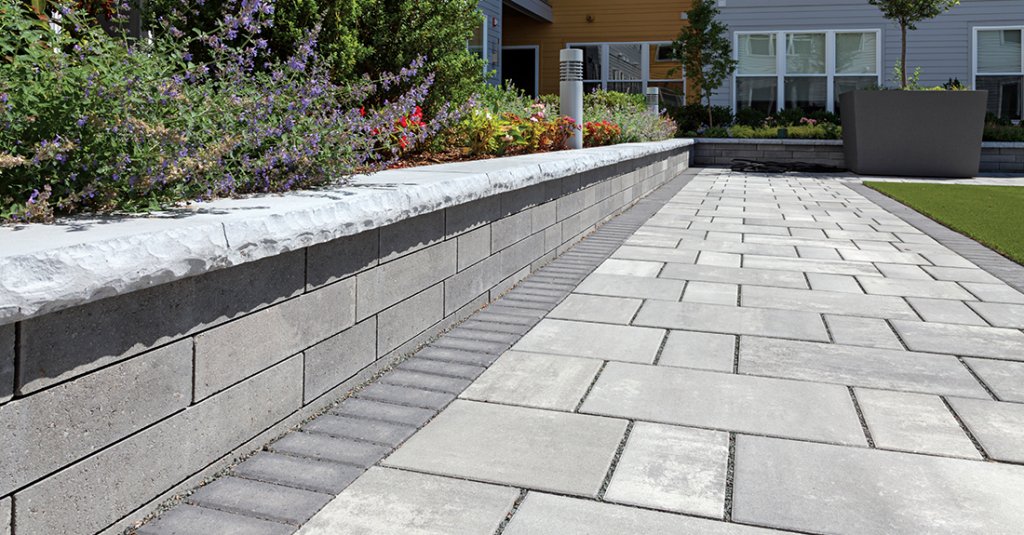
Backfill & Finish
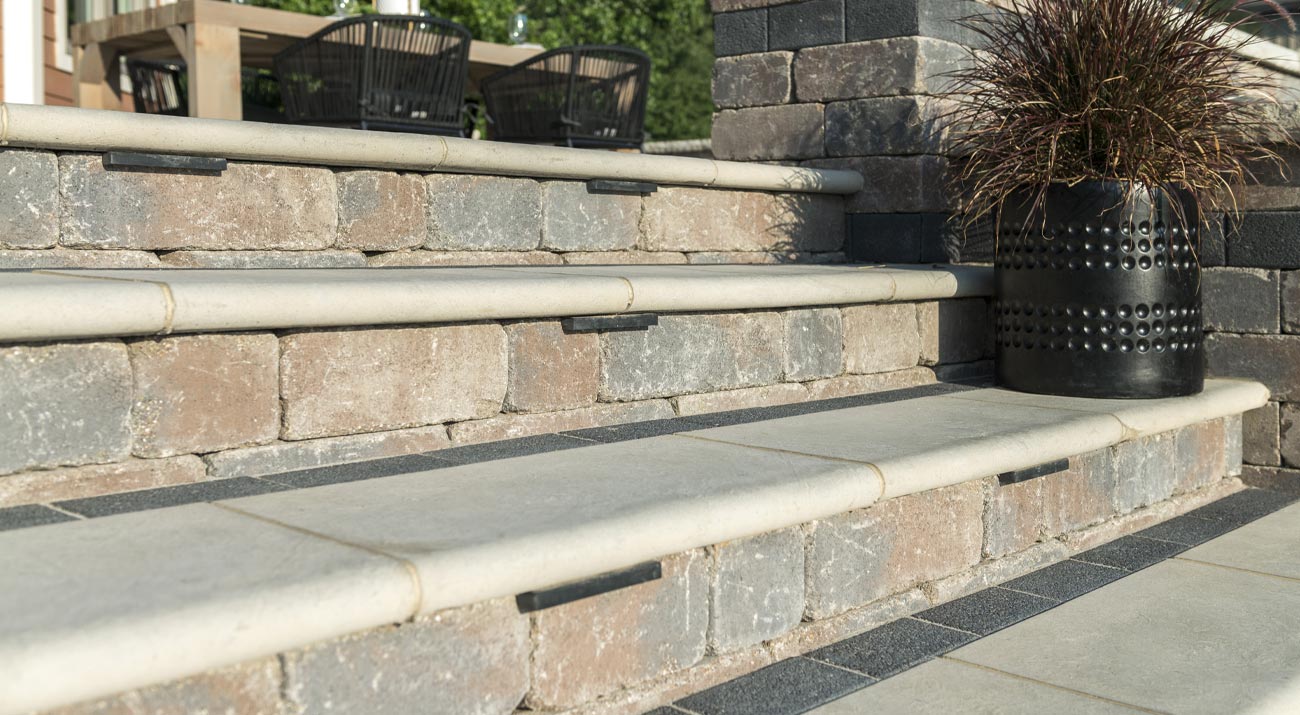
• Secure capstones with construction adhesive, leaving a small overhang.
• Replace topsoil, add mulch, and start planting around your new wall.
Ready to Build Yours?
A retaining wall can completely change the look and function of your yard—and building one yourself makes it even more rewarding. Whether you’re tackling a weekend project or a bigger landscaping makeover, IL Supply has all the DIY materials, tools, and expert advice you need to make it happen.
Stop in today and get everything you need to start building your retaining wall with confidence.
Visit
to learn more or fill out the Contact Form!